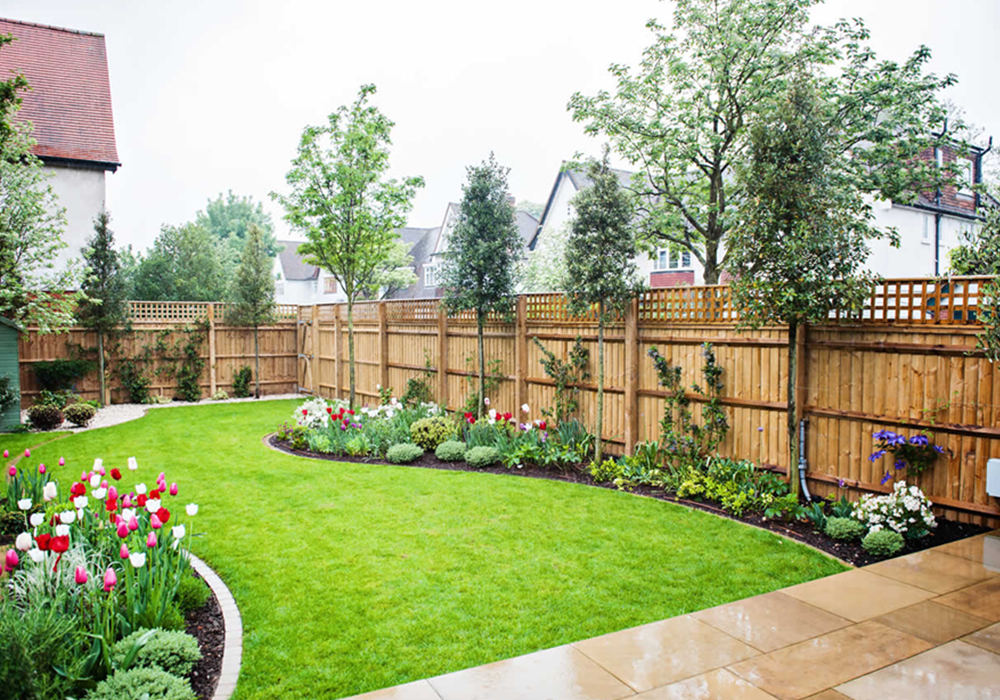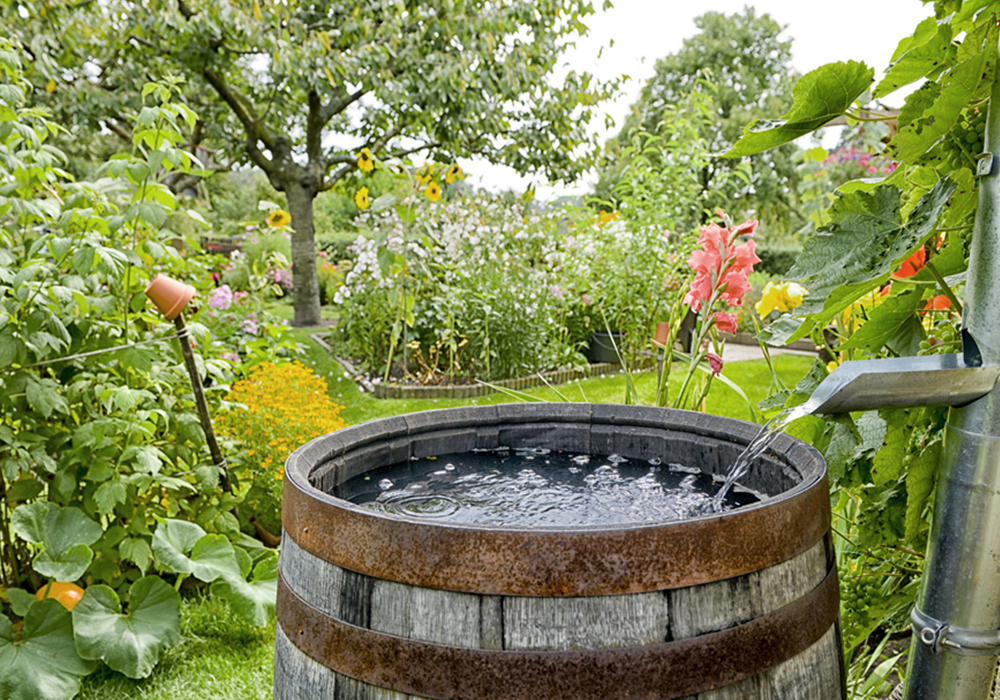
Building a rain garden is probably every homeowner’s dream. Making use of the space in your garden by creating a small green corner. Unlike other types of landscaping, a rain garden follows a simple concept. Being a sunken garden, it allows it to capture rainwater, stimulating the growth of certain plants that require a soil rich in moisture. Building one is not that costly or difficult if you follow a few simple steps.
1. Pick the spot
Assuming that you know every corner of your yard, you should be able to spot areas where rain causes erosion or pooling. Those spots are excellent for building a rain garden. You will need to study how the water flows when it rains and how it fills out the spot. Remember that the garden needs to be at least 10 feet from your home’s foundation if you want to avoid seepage.
2. Draw the design
There is no specific space or design that you should follow. Try to picture how the garden will look and draw the design you would like to build. Any shape you like can be turned into a rain garden.
3. Test the site
Once you identified the area, dig a small hole that is afoot deep and 4 inches in diameter. Wait until it rains and check if the water drains in less than 48 hours, then it is considered a suitable spot for a rain garden.

4. Build a berm and shape the garden
At this stage, you will need to build a berm. The berm will stop the water from flowing outside the rain garden and will keep it in the soil. Use rocks to delimit the perimeter of the garden and some decorative garden stones.
5. Plant your garden
The final step is to plant your garden. Do a little bit of research and see what plants are suitable for a rain garden. There are plenty of different types but remember not to neglect marginal plants as they can tolerate extreme levels of moisture.

